Homemade Vanilla Ice Cream (Creamy, Easy & No Eggs!)
If you have been searching for a homemade vanilla ice cream recipe that is genuinely creamy, scoopable straight from the freezer, and made with simple ingredients you already have at home, this is it. No egg yolks, no complicated custard base, no tempering — just five ingredients, one saucepan, and an ice cream maker.
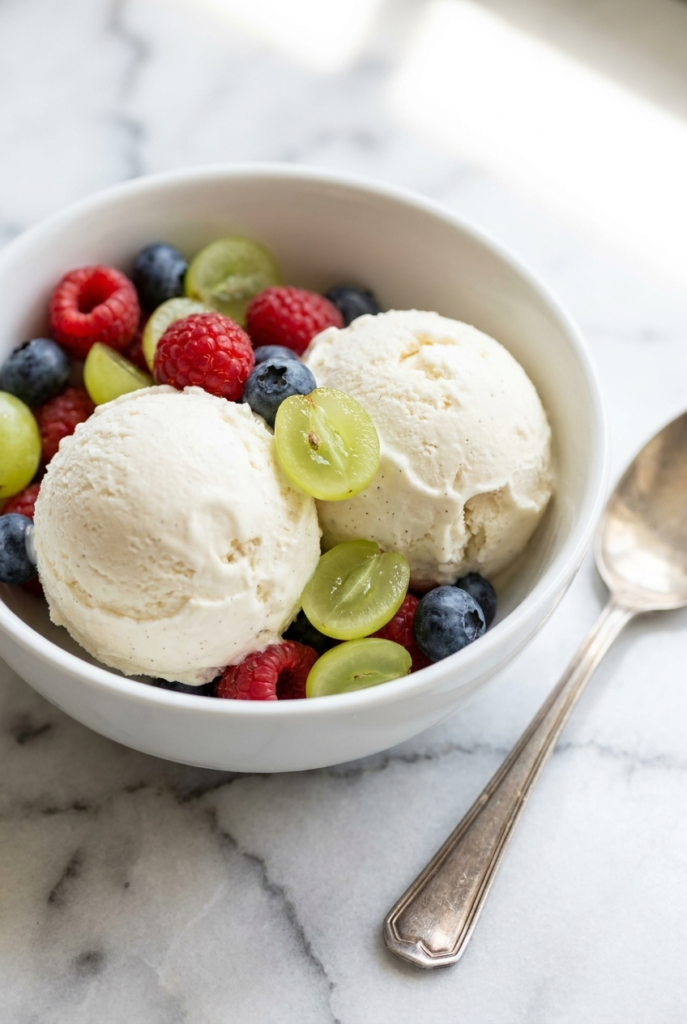
This easy vanilla ice cream has a clean, pure flavor that store-bought versions simply cannot replicate. Real vanilla extract, good quality cream and milk, and a pinch of sea salt that makes every other flavor in the bowl taste more like itself. Simple done right.
Why This Homemade Vanilla Ice Cream Works
Most homemade ice cream recipes call for egg yolks to create a rich custard base. This recipe skips that step entirely without sacrificing creaminess. The combination of heavy cream and whole milk hits the perfect fat ratio — rich enough to churn into a smooth, scoopable texture without being heavy or greasy.
The small amount of sea salt is not optional. Salt suppresses bitterness and amplifies sweetness, which means the vanilla flavor comes through louder and cleaner in every single bite.
Chilling the base before churning is also essential. A cold base churns faster, forms smaller ice crystals, and produces a smoother final texture than a base that goes into the machine warm.
Ingredients
For the vanilla ice cream:
- 1½ cups heavy cream
- 1½ cups whole milk
- ⅔ cup cane sugar
- 2 teaspoons pure vanilla extract
- ⅛ teaspoon fine sea salt
That is everything. Five ingredients, zero fillers, zero stabilizers.
Learn more about ice cream and its fascinating history on Wikipedia — one of the world’s most universally loved frozen desserts.
Equipment You Need
- Medium saucepan
- Whisk
- Heatproof bowl with lid or plastic wrap
- Ice cream maker
- Airtight freezer-safe container
Step-by-Step Instructions
Step 1 — Warm the base
Combine the heavy cream, whole milk, cane sugar, vanilla extract, and sea salt in a medium saucepan over medium-low heat. Whisk frequently for about 5 minutes until the sugar has completely dissolved and the mixture is warmed through. You are not looking to boil this — just enough heat to fully dissolve the sugar and bloom the vanilla. The mixture should feel warm to the touch, not hot.
Step 2 — Chill the base
Pour the warm ice cream base into a heatproof bowl. Cover tightly with a lid or plastic wrap pressed directly onto the surface of the liquid to prevent a skin from forming. Refrigerate for at least 2 hours — overnight is strongly preferred. The colder the base, the better the churn.
Step 3 — Churn
Remove the chilled base from the fridge and give it a good whisk to recombine everything. Pour into your ice cream maker and churn according to the manufacturer’s instructions — typically 20 to 30 minutes. The ice cream will look like thick soft serve when it finishes churning. That is correct.
Step 4 — Freeze for firm ice cream
For soft-serve texture, serve immediately straight from the machine. For scoopable, firm ice cream, transfer to an airtight container, press a piece of plastic wrap directly onto the surface, seal tightly, and freeze for 2 to 4 hours before serving.
Step 5 — Scoop and serve
If the ice cream is too firm to scoop straight from the freezer, let it sit at room temperature for 3 to 5 minutes. It will soften just enough to scoop cleanly without melting.
Chef Dana’s Pro Tips
- Freeze your ice cream maker bowl in advance. Most ice cream maker bowls need 24 hours in the freezer before use. If the bowl is not completely frozen solid, the ice cream will not churn properly and will stay liquid.
- Chill the base overnight if possible. Two hours is the minimum but overnight gives a noticeably smoother, creamier result with smaller ice crystals.
- Do not skip the sea salt. Even that tiny ⅛ teaspoon makes a real difference. Salt balances the sweetness and makes the vanilla pop in a way that unsalted ice cream simply does not.
- Press plastic wrap directly onto the surface before freezing. This prevents ice crystals from forming on the top layer and keeps the texture smooth all the way through.
- Use good vanilla extract. This recipe has nowhere to hide. The vanilla is the star — a high-quality pure extract delivers a dramatically better flavor than imitation vanilla.
- Do not over-churn. Once the mixture reaches a thick, soft-serve consistency and the machine starts to strain slightly, stop. Over-churning can cause the fat to separate and leave a greasy texture.
Common Mistakes to Avoid
- Not fully dissolving the sugar. Undissolved sugar crystals create a gritty texture in the finished ice cream. Whisk over heat until you can no longer feel any graininess when you rub a drop between your fingers.
- Churning a warm base. A warm base going into the ice cream maker means longer churn time, larger ice crystals, and a coarser, icier final texture. Always chill completely first.
- Storing without covering the surface. Air exposure creates ice crystals on the surface. Always press plastic wrap directly onto the ice cream before sealing the container.
- Using low-fat milk. The fat in whole milk is part of what makes the texture creamy rather than icy. Low-fat or skim milk produces a noticeably icier result.
Variations & Substitutions
Vanilla bean ice cream — split one vanilla bean and scrape the seeds into the warm cream mixture along with the extract. Remove the pod before chilling. The flavor is more complex and you get beautiful black specks throughout.
Strawberry vanilla — fold in ½ cup of freshly macerated strawberries after churning, just before the final freeze.
Cookies and cream — fold in ½ cup of crushed Oreos after churning for an instant cookies and cream version.
Dairy-free version — replace the heavy cream with full-fat coconut cream and the whole milk with coconut milk. The flavor will be slightly coconutty but the texture remains remarkably creamy.
Brown sugar vanilla — substitute the cane sugar with packed light brown sugar for a deeper, slightly caramel-like sweetness that pairs beautifully with the vanilla.
For more dessert inspiration, visit the Recipes by Elowen Pinterest board — filled with homemade ice cream flavors, no-bake desserts, and easy summer recipes.
Storage
Store homemade vanilla ice cream in an airtight container in the freezer for up to 1 month. After that, ice crystals begin to form and the texture becomes noticeably icier. For the absolute best texture and flavor, eat within the first 2 weeks.
Always press a piece of plastic wrap directly onto the surface of the ice cream before sealing the container. This single step makes a huge difference in how long the texture stays smooth and creamy.
If the ice cream freezes rock solid, let it sit on the counter for 3 to 5 minutes before scooping. Never microwave — it melts unevenly and ruins the texture.
Serving Suggestions
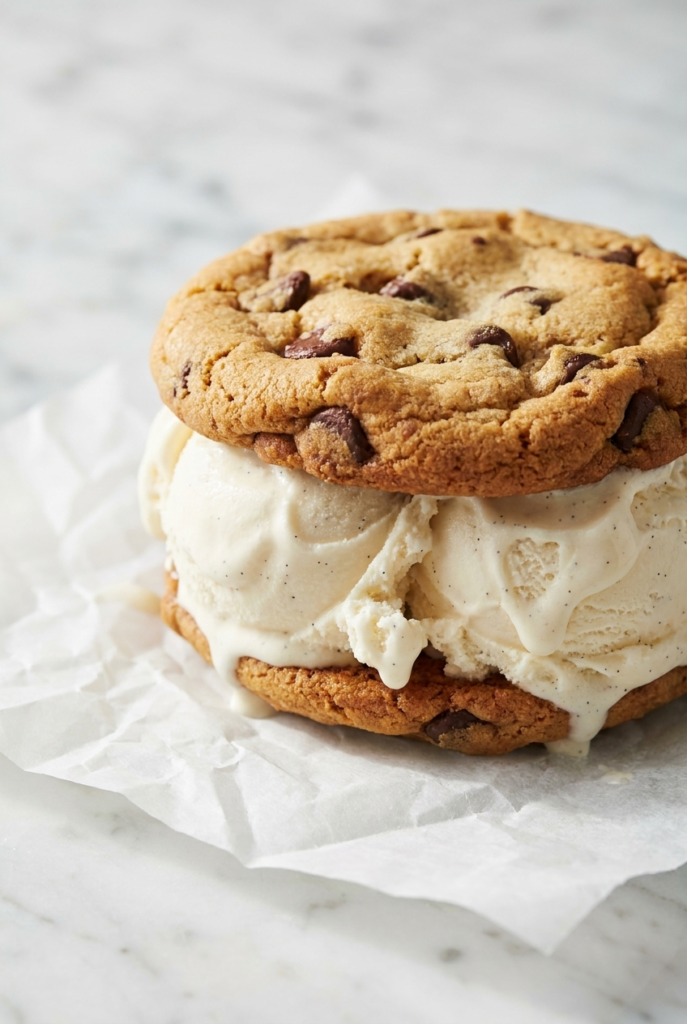
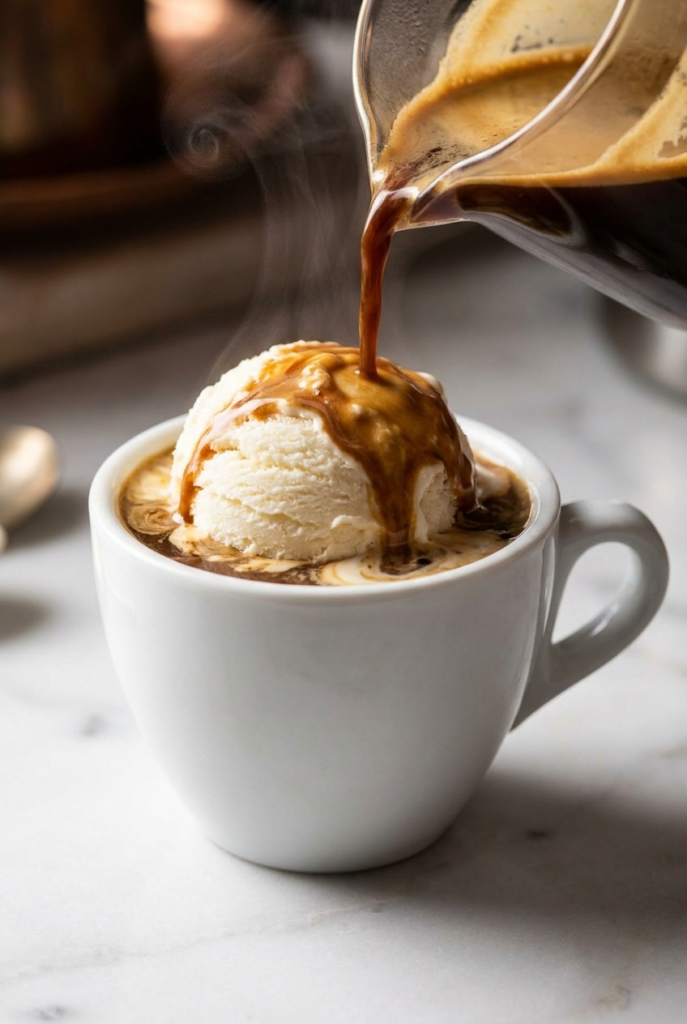
This homemade vanilla ice cream is the perfect base for almost any dessert. Serve it alongside a warm slice of apple pie, a brownie fresh from the oven, or a slice of lemon magic cake for a contrast of warm and cold. A drizzle of hot fudge sauce, a handful of toasted pecans, or a spoonful of salted caramel takes a simple bowl to something genuinely special. For a classic summer treat, sandwich a scoop between two freshly baked chocolate chip cookies.
Nutrition Estimate (Per Serving, Based on 6 Servings)
Calories: 310 kcal — Fat: 22g — Saturated Fat: 14g — Carbohydrates: 26g — Sugar: 25g — Protein: 3g — Fiber: 0g — Sodium: 75mg — Cholesterol: 70mg
For more on the science and composition of vanilla as a flavoring ingredient, Wikipedia covers everything from the plant to the extract process in detail.
FAQ
— Do I need an ice cream maker for this recipe? An ice cream maker gives the best texture by incorporating air and preventing large ice crystals from forming. Without one, you can pour the chilled base into a shallow freezer-safe dish, freeze for 45 minutes, stir vigorously with a fork, and repeat every 30 to 45 minutes for 3 to 4 hours. The texture will be icier but still very good.
— Why is my homemade ice cream icy and not creamy? The most common cause is not chilling the base long enough before churning, or using low-fat dairy. Make sure the base is completely cold before it goes into the machine and always use heavy cream and whole milk.
— Can I use vanilla bean paste instead of extract? Yes, at a 1:1 ratio. Vanilla bean paste gives you the beautiful specks of actual vanilla bean and a slightly more intense flavor than extract alone.
— How long does homemade vanilla ice cream last in the freezer? Up to 1 month for the best quality. After that it remains safe to eat but the texture becomes progressively icier. Always keep the surface covered with plastic wrap.
— Can I make this without an ice cream maker? Yes — see the no-churn method in the FAQ above. Alternatively, whip the heavy cream to stiff peaks separately, fold it into the sweetened milk and vanilla mixture, and freeze in a container, stirring every 30 minutes for the first 2 hours. This produces a softer, mousse-like texture.
— Why did my ice cream not freeze properly? Most likely the ice cream maker bowl was not frozen solid enough before churning started. The bowl needs a full 24 hours in the freezer. If it was not cold enough, the base will churn but never thicken properly.
— Can I reduce the sugar? You can reduce it slightly, but keep in mind that sugar does more than sweeten — it also lowers the freezing point and contributes to a soft, scoopable texture. Reducing it too much results in a very hard, difficult-to-scoop ice cream.
— Can I add mix-ins? Yes. Add mix-ins like crushed cookies, chocolate chips, caramel swirls, or fresh fruit in the last 2 minutes of churning or fold them in by hand just before the final freeze.
Conclusion
This homemade vanilla ice cream proves that the simplest recipes are often the most impressive. Five ingredients, a little patience, and you have a creamy, scoopable, deeply flavorful ice cream that beats anything from the grocery store freezer aisle.
Make the base tonight, churn it tomorrow, and have the best bowl of vanilla ice cream you have ever tasted ready by tomorrow afternoon.
Follow me on Pinterest for more delicious recipes. For more easy and delicious Dessert recipes, explore our collection.
Print
Homemade Vanilla Ice Cream (Creamy, Easy & No Eggs!)
- Prep Time: 10 minutes
- Cook Time: 5
- Total Time: 2 hours 15 min
- Yield: 6 serving
- Category: Dessert
- Method: No-Bake / Churned
- Cuisine: American
- Diet: Vegetarian
Description
Creamy, scoopable, and made with just 5 simple ingredients — no eggs, no custard base, no complicated technique. This easy homemade vanilla ice cream is pure, clean, and better than anything from the store.
Ingredients
- 1½ cups heavy cream
- 1½ cups whole milk
- ⅔ cup cane sugar
- 2 teaspoons pure vanilla extract
- ⅛ teaspoon fine sea salt
Instructions
- Combine cream, milk, sugar, vanilla, and salt in a medium saucepan over medium-low heat. Whisk for 5 minutes until sugar fully dissolves and mixture is warmed through.
- Pour into a heatproof bowl, cover, and refrigerate for at least 2 hours or overnight.
- Whisk the chilled base well. Churn in ice cream maker 20 to 30 minutes until thick and soft-serve consistency.
- For firm ice cream, transfer to an airtight container, press plastic wrap onto the surface, and freeze 2 to 4 hours.
- Let sit at room temperature 3 to 5 minutes before scooping if too firm.
Notes
- Freeze your ice cream maker bowl for a full 24 hours before churning.
- Overnight chilling gives the smoothest, creamiest result.
- Press plastic wrap directly onto the surface before freezing to prevent ice crystals.
- Keeps in the freezer for up to 1 month. Best within 2 weeks.